


Unreal Engine Has a Problem…
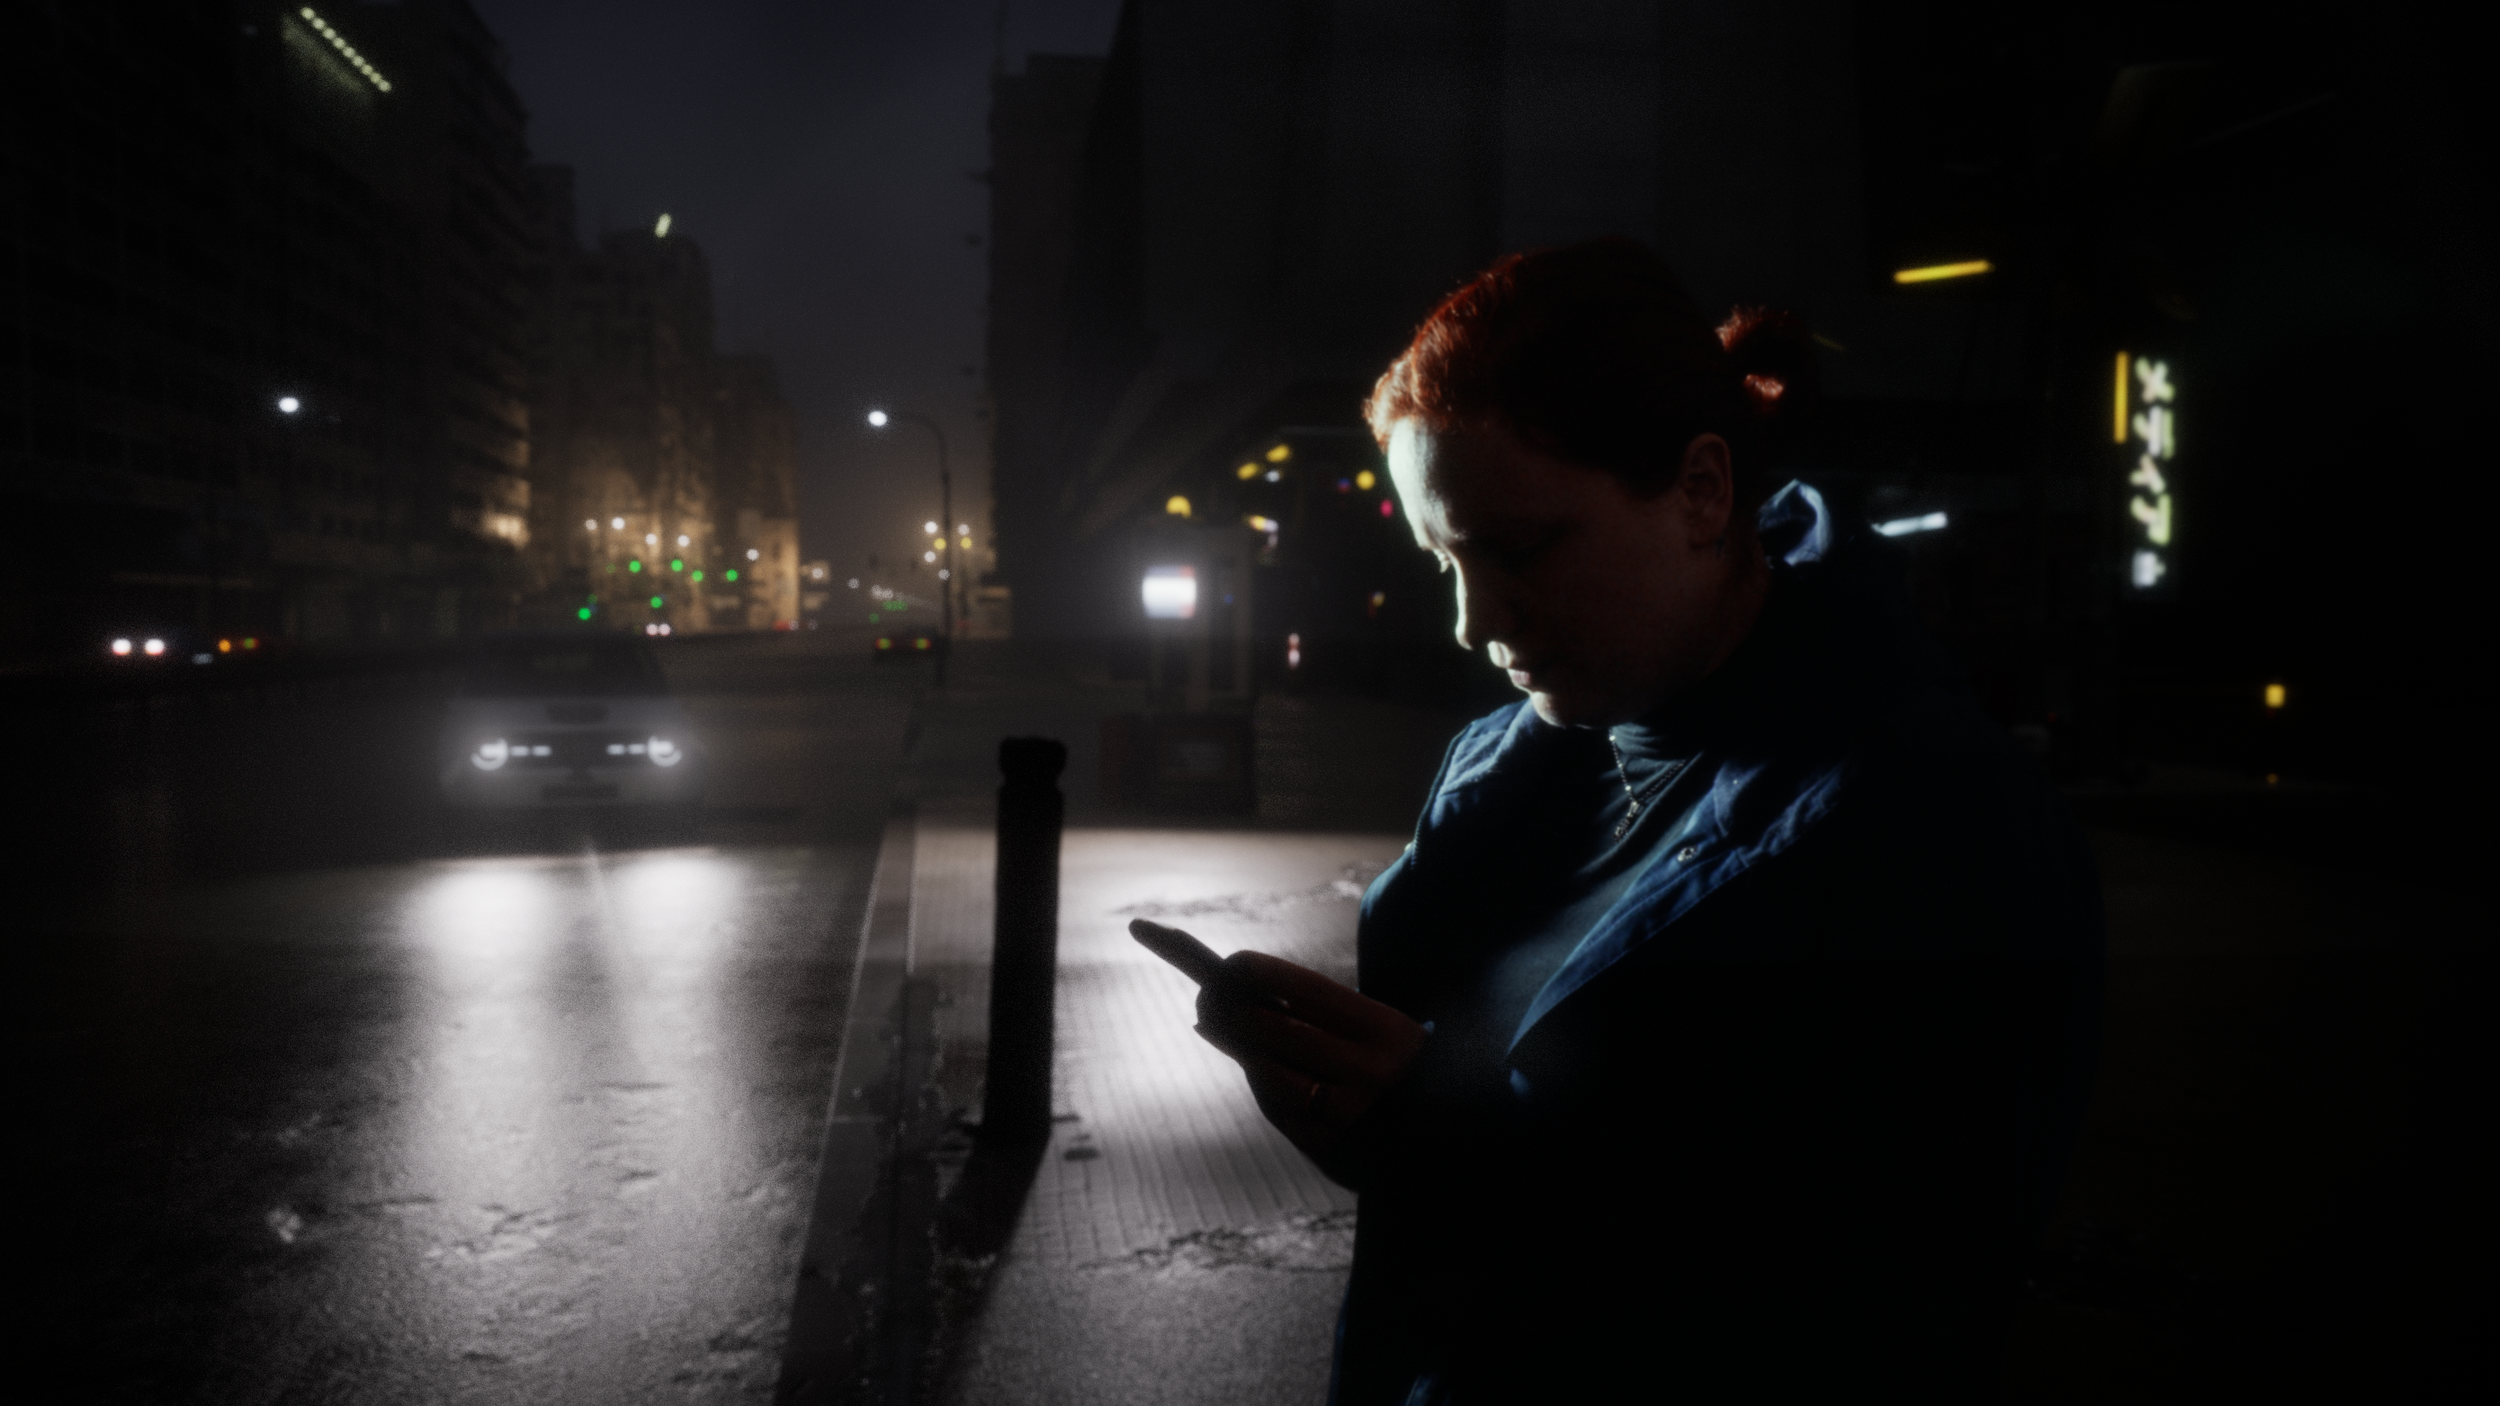
When making films in Unreal Engine, no matter what, there is a sharp, game-like, quality to the images It produces. I always end up adding distortion filters, radial blurs, lens flares and film grain to make it look more natural. This can take a ton of extra time…but there’s a better way.
To get truly realistic images we need to simulate the actual process of taking photos.
What Is Virtual Glass?
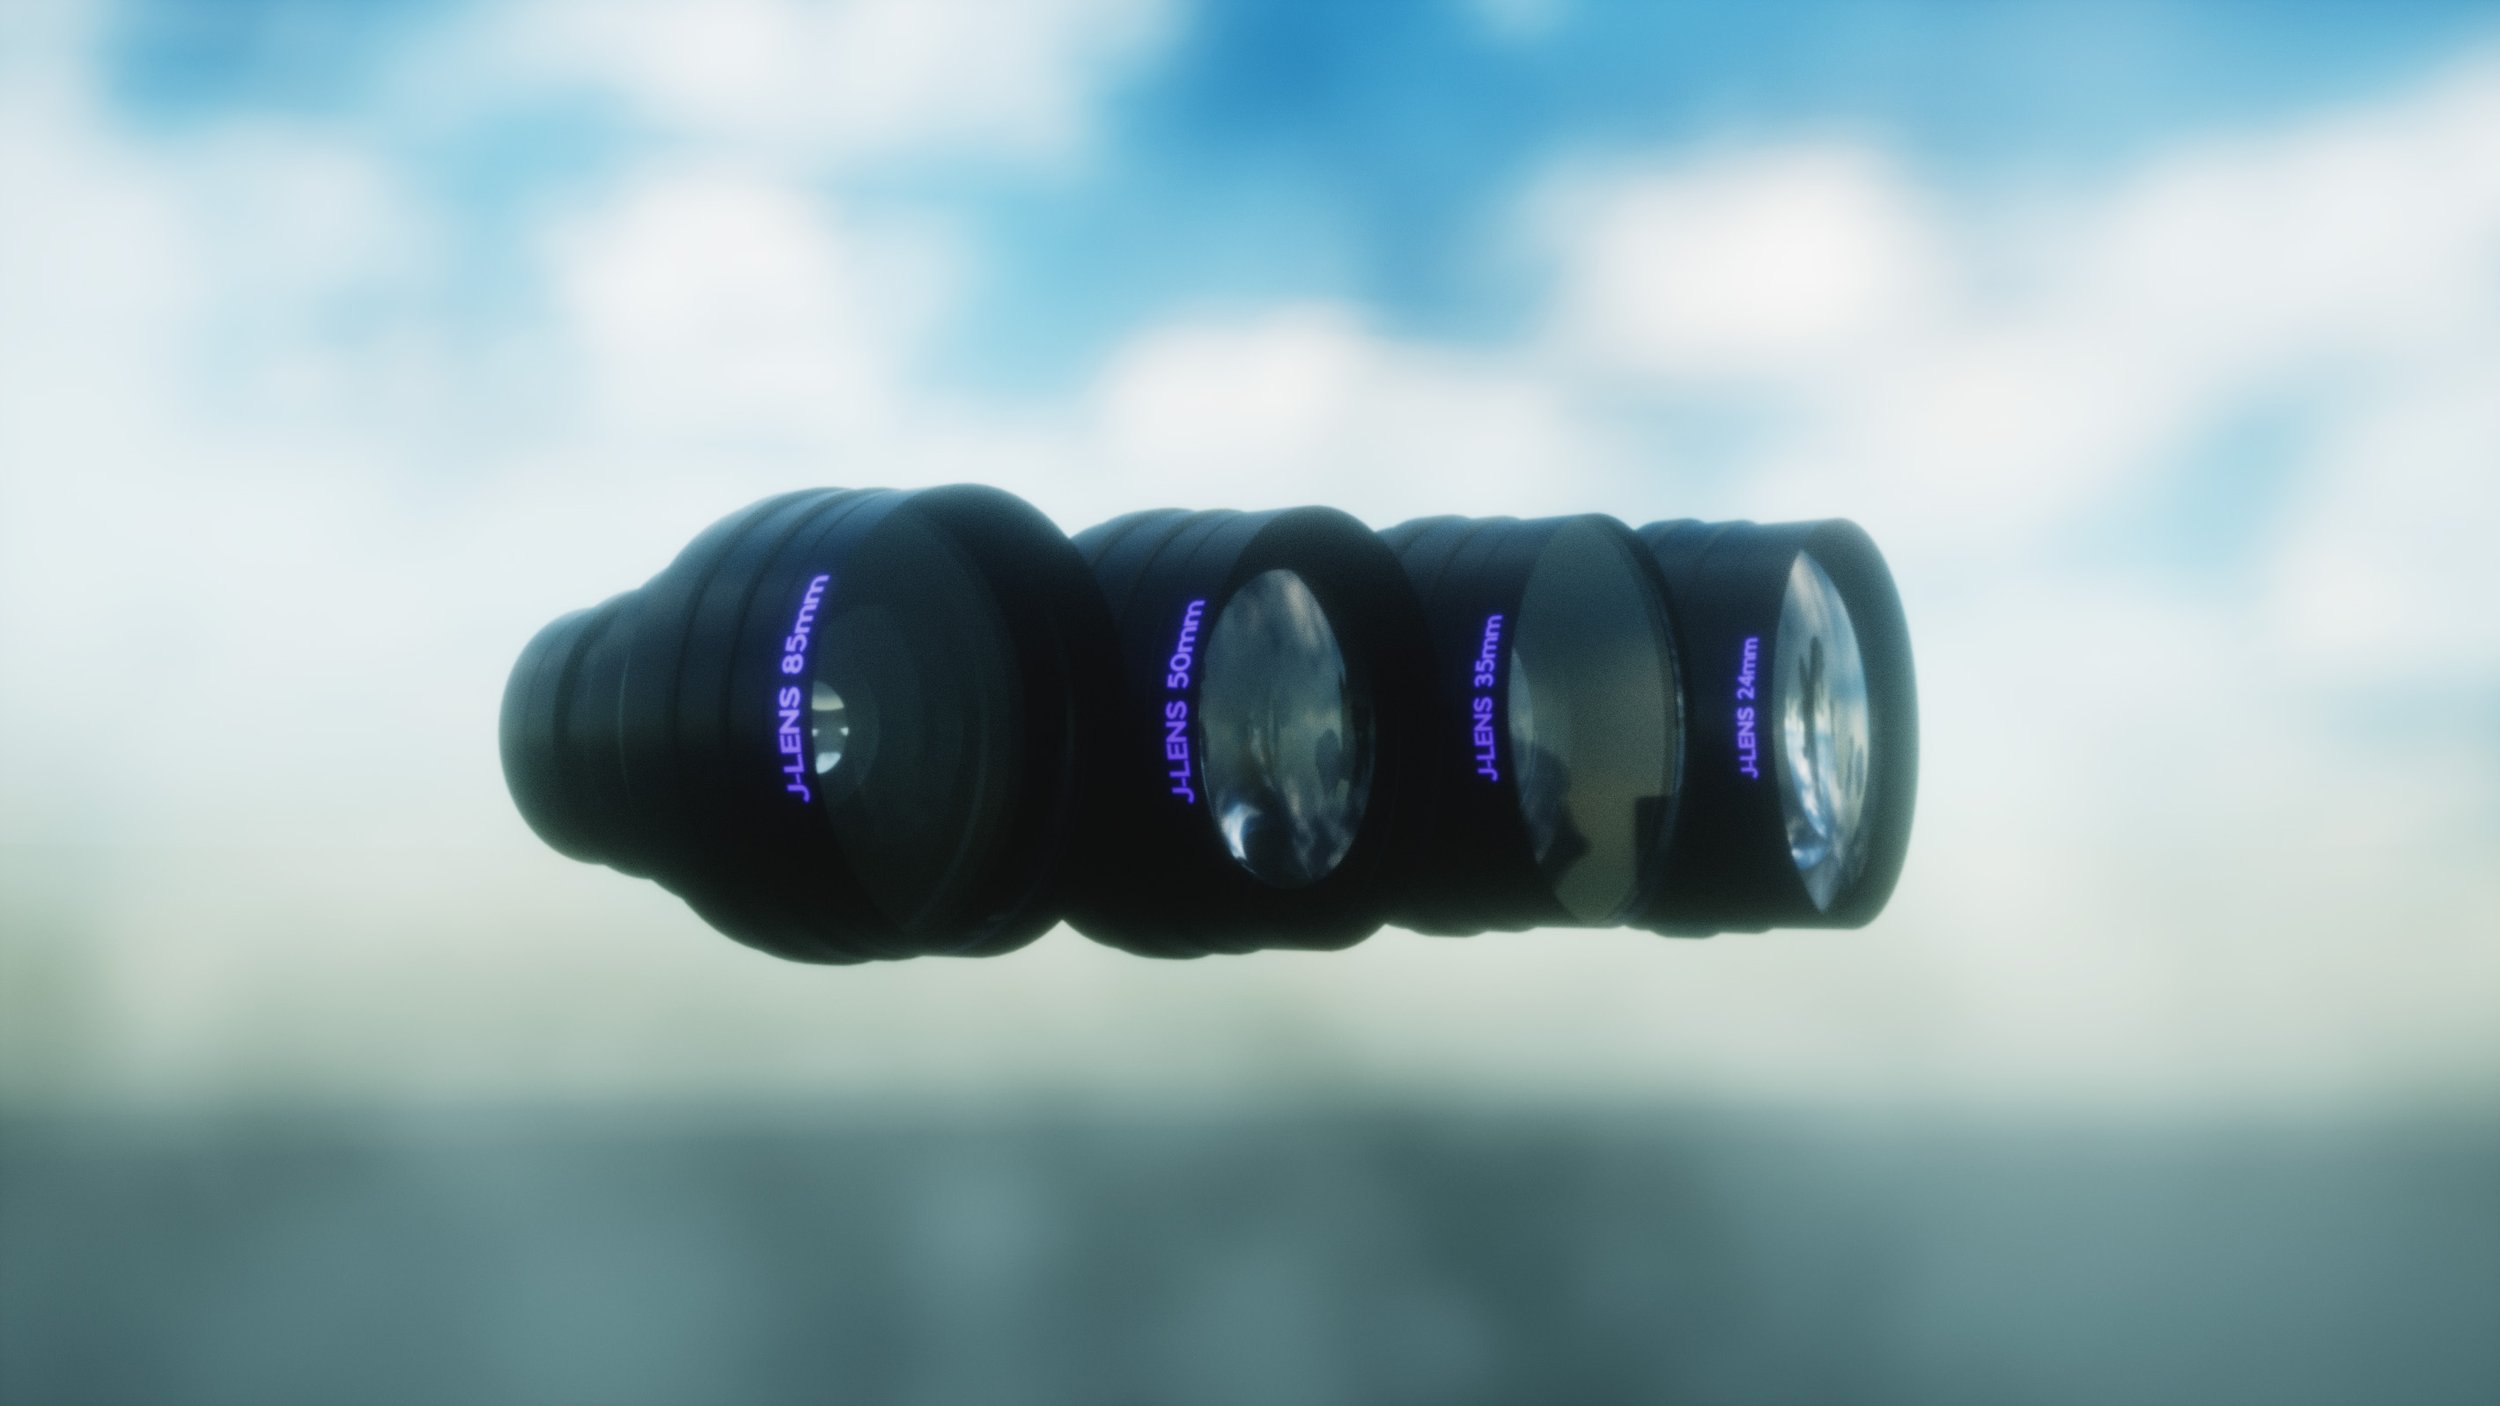
I have modeled a set of 3D virtual lenses that work in Unreal Engine and create realistic optical refractions, emulating light passing through real glass.
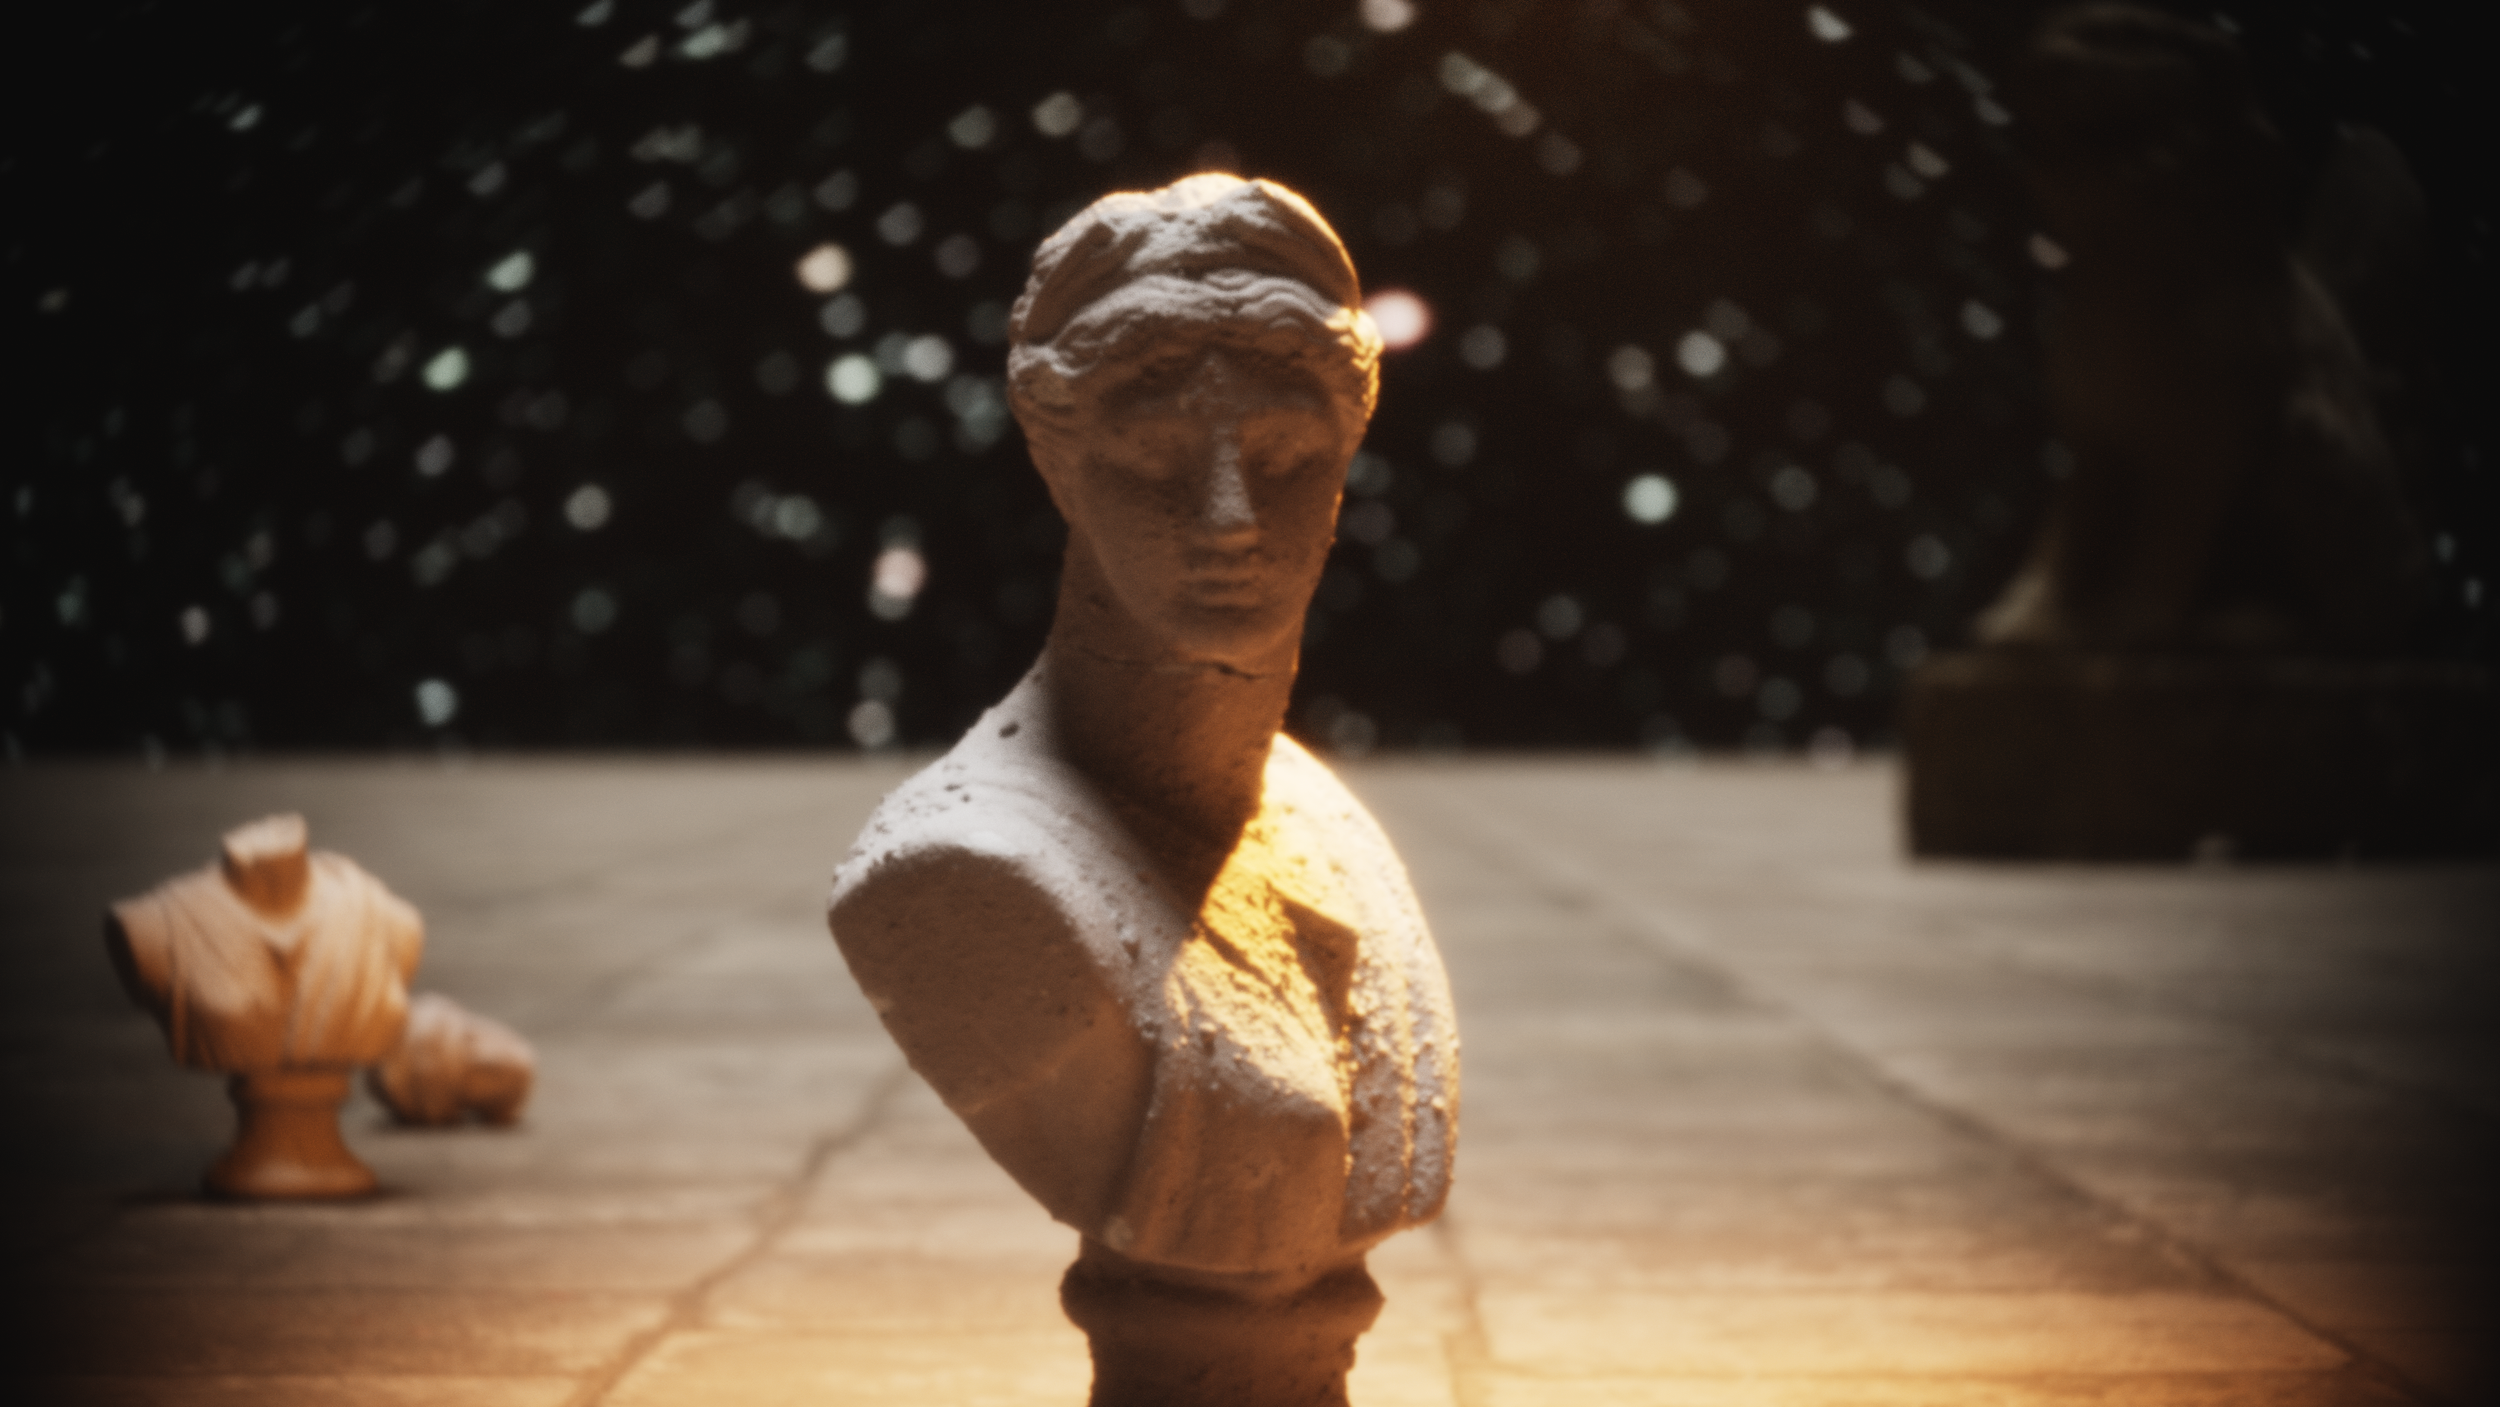
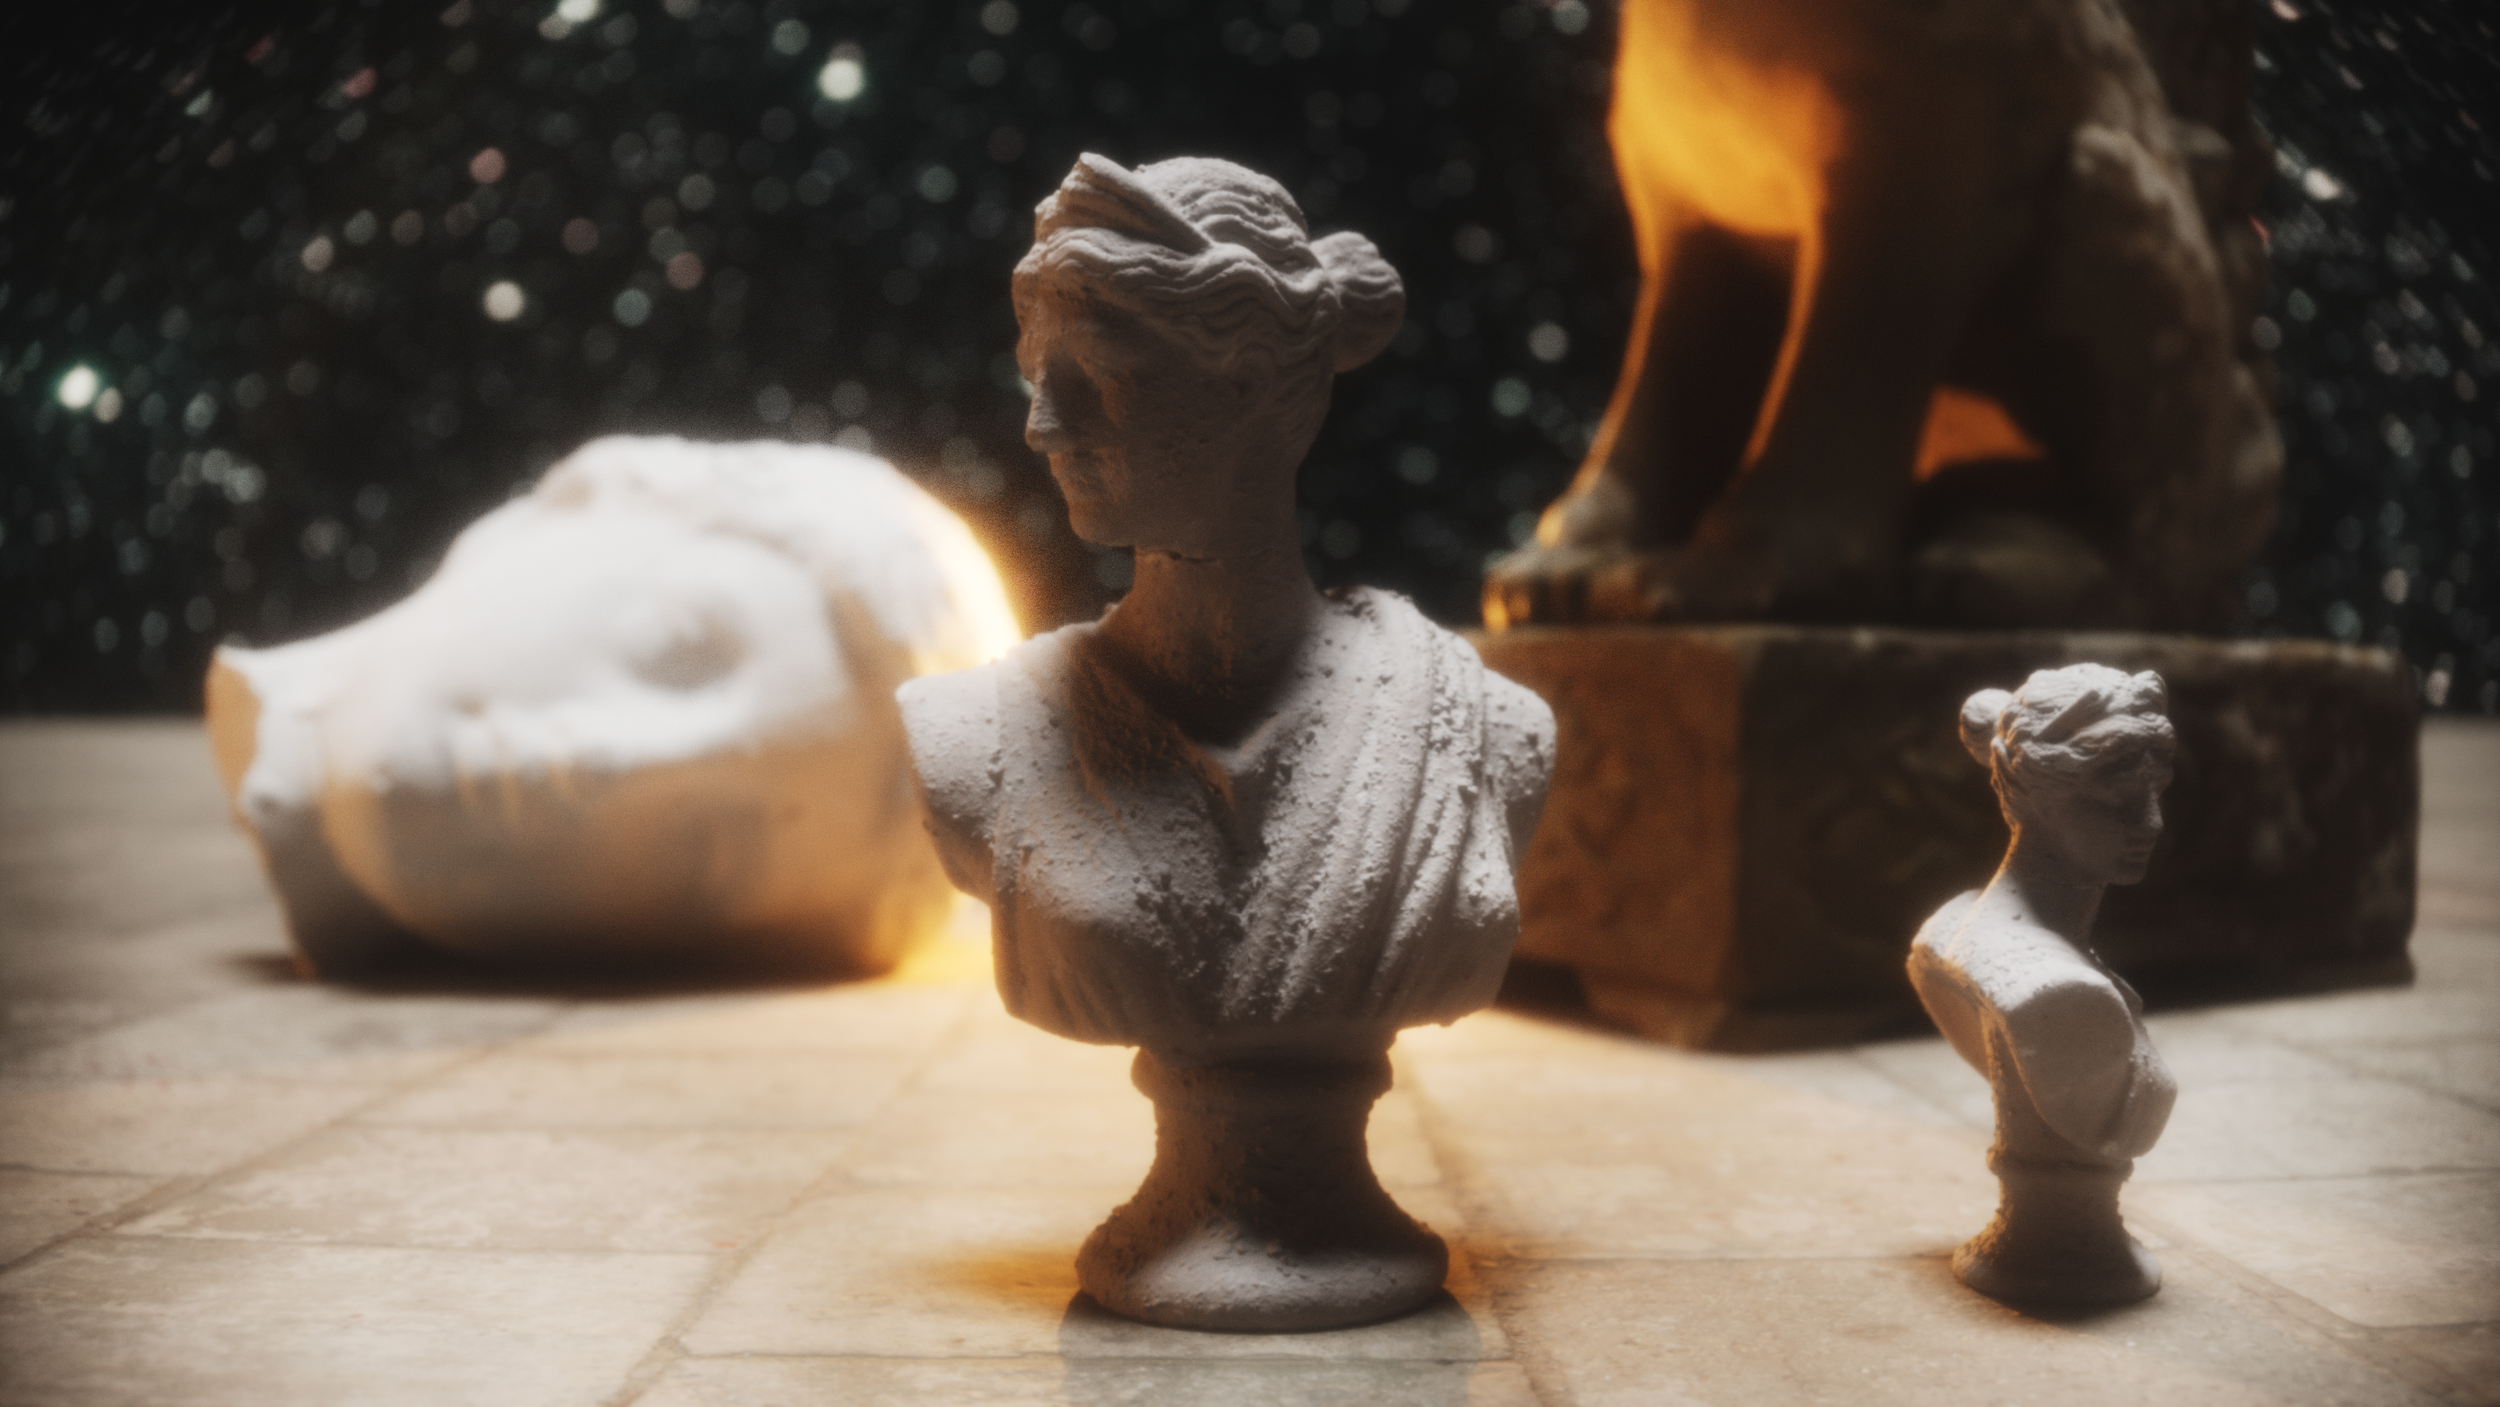
The Virtual Glass set consists of a 24mm, 35mm, 50mm and 85mm lens. Each can be attached to the front of an Unreal Engine cine camera, and with the Unreal Engine Pathtracer activated we can re-create all of the interesting imperfections that you expect from photographic and vintage lenses. The results are truly beautiful.
It has been a long journey but I’m really happy to finally release these into the world. I hope they help you bring a new and interesting look to your work in Unreal Engine.

Introducing The Helios 44-2
This incredible vintage lens, famous for it’s ‘swirly bokeh’ has been recreated virtually and is now included in the Virtual Glass Full Collection. It is experimental right now but will recievce updates.
This short sequence was captured on a green screen with a physical version of the lens and the backgrounds were rendered with the virtual Helios to create a consistent look.
Embrace Imperfection
Spherical Abberation
Optical Vignetting
Custom Bokeh Shape
Barrel Distortion
Lens Reflections
Dirty Bokeh
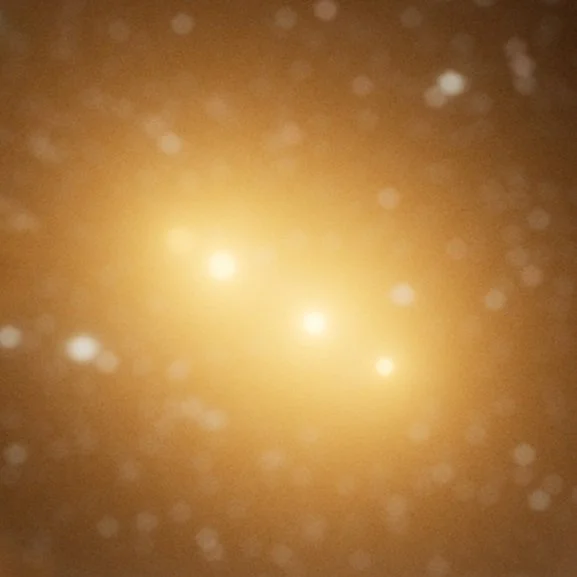
Swirly Bokeh
Lens Flares
Bloom

CUSTOM BOKEH SHAPE

BLOOM
LENS FLARE

Make Cinematics That Stand Out
Don’t waste time with inaccurate 2D filters
Apply beautiful effects at the point of render.
Bring keyed footage and CG together with a unified look.
Control the strength of certain effects.
Easily switch your bokeh style from ‘sharp’ to ‘swirly’
What’s In The Virtual Glass Full Collection?
NEW Virtual 58mm Helios 44-2 Blueprint (plus mini tutorial)
4x Virtual Lenses with 24mm, 35mm, 50mm and 85mm focal lengths
A full tutorial video for using virtual glass
FAQs
How does Virtual Glass work?
The lenses are blueprint actors that can simply be attached to any Unreal Engine cine camera actor.
Inside the blueprint, you can access the lens materials to customize the bloom amount, lens dirt and the custom aperture planes.
What version of Unreal does this work in?
These lenses currently work in Unreal Engine 5.3 and earlier, as well as 5.4.1.
What is the effect on render times?
The lenses decrease the speed of sampling, so render time will increase when using them. The main factor is that certain effects, like bloom, take longer to clean up. If render times are an issue, then using Unreal’s denoiser or a post-denoiser like Neat Video are options.
I brought the lenses into my project, why is everything is blurry?
In project settings, make sure you have the ‘Near Clip Plane’ set to 0.01. Be default Unreal has this set to 10
How do manage noise and exposure?
I recommend using more samples when using virtual glass to clean up noise. I also recommend increasing the exposure in the post-process volume by 1-2 stops to compensate for a bit of light loss.
What are the recommended settings?
The demo scene I supply in the project file has everything dialed in nicely, but there’s no one-size-fits-all approach. It’s always going to depend on your scene.
Are there any limitations?
Virtual Glass currently only works with the Unreal Engine Pathtracer, so it is best used when you are working in a non-real-time workflow.
Chromatic Aberration can’t be achieved with Unreal’s pathtracer because doing so requires a spectral pathtracer. It should be possible using Octane render, but I have not yet tested this.
Within the demo scene, the chromatic aberration is set to 0.5. All other effects are disabled by default.
ADDITIONAL INFO
The Denoiser
I recommend keeping Unreal’s denoiser off. Generally speaking it is too strong to create nice results with the pathtracer. This should change in Unreal 5.5 when they introduce a new denoiser. This will speed up the use of Virtual Glass considerably.
Aperture Planes
Only use one aperture plane at a time to create different looks. Ensure one of them has ‘visible’ unchecked in the details panel. Having one enabled could cause extra light loss or vignetting.
Max Path Exposure
Keep the ‘Max Path Exposure’ in the postprocess volume set only 1-3 stops higher than your current exposure level. Having this too high can cause unwanted fireflies.
Eliminating Flares
Because these lenses are prone to flaring (by design), there might be occasions where you want certain lights in your scene not to flare. To achieve this, you should set the lighting channels on the light to be different from the channels on the lens elements.
Adaptive Sampling
Using Unreal Engine’s Adaptive sampling feature in 5.4 could increase the quality and speed of renders overall. It stops the pathtracer from sampling pixels that have already reached the noise threshold. this means it spends more time on noisy areas of the image.